A common question is what light painting tools I recommend for light painting for night photography. Here’s what I recommend—and why.
I’ll start with the most inexpensive light painting choices and work my way up.
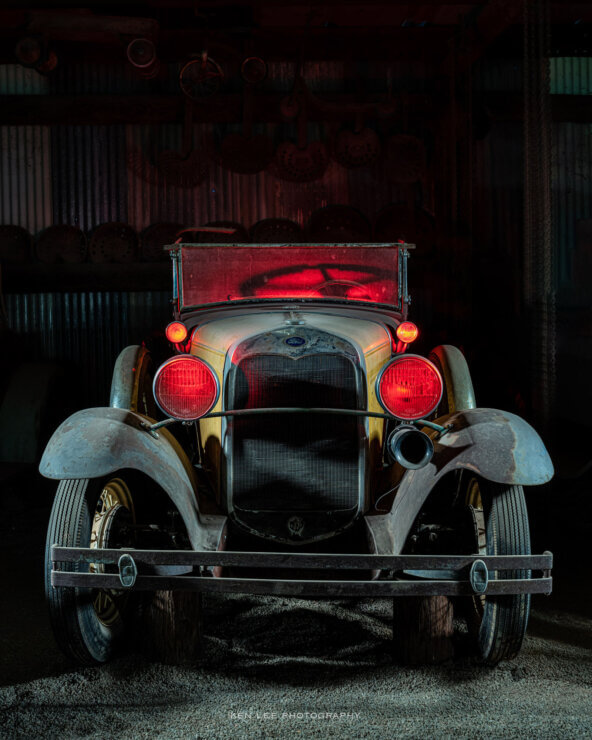
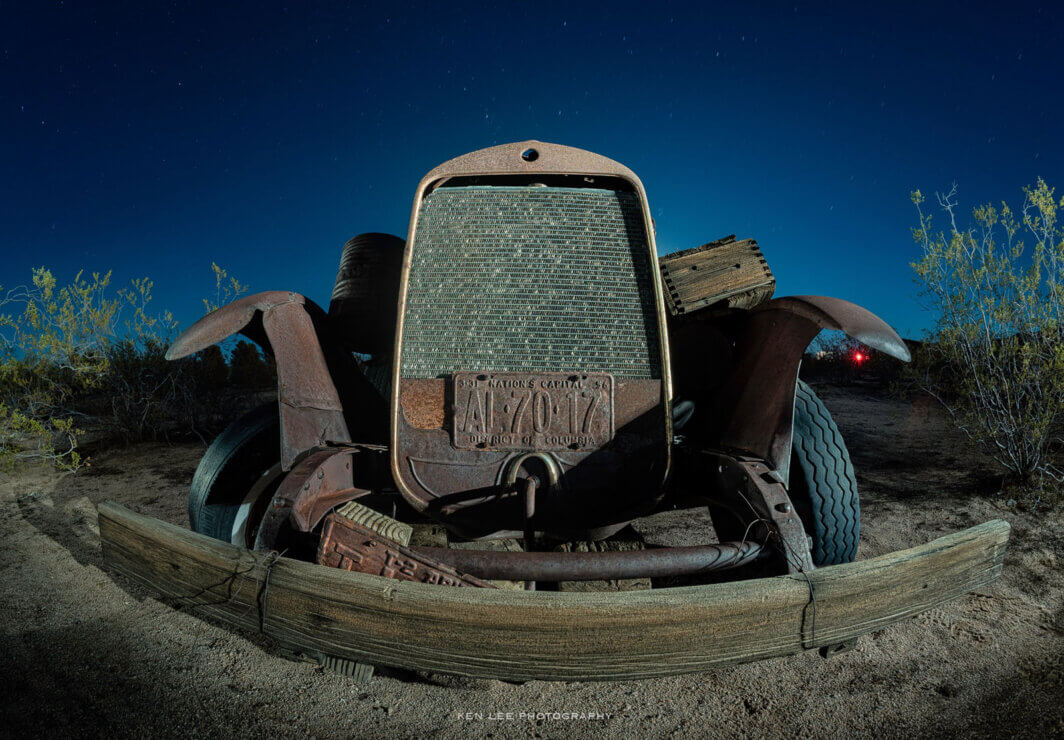
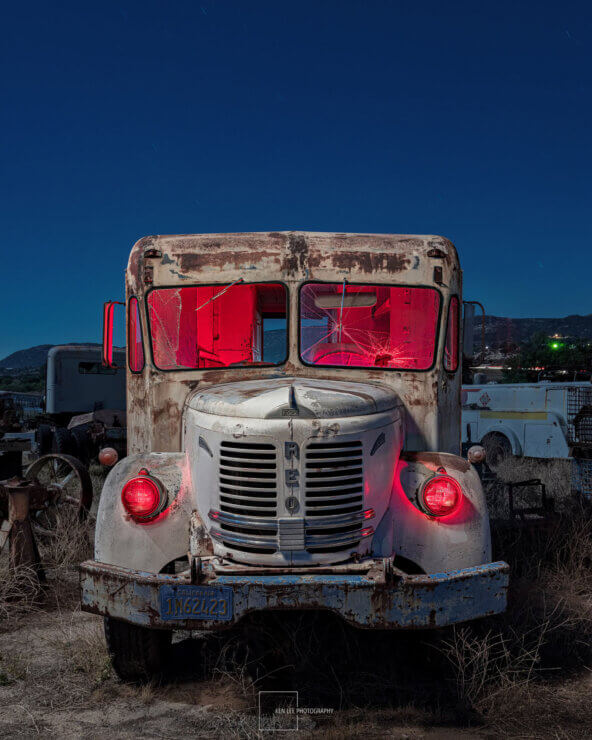
What is light painting?
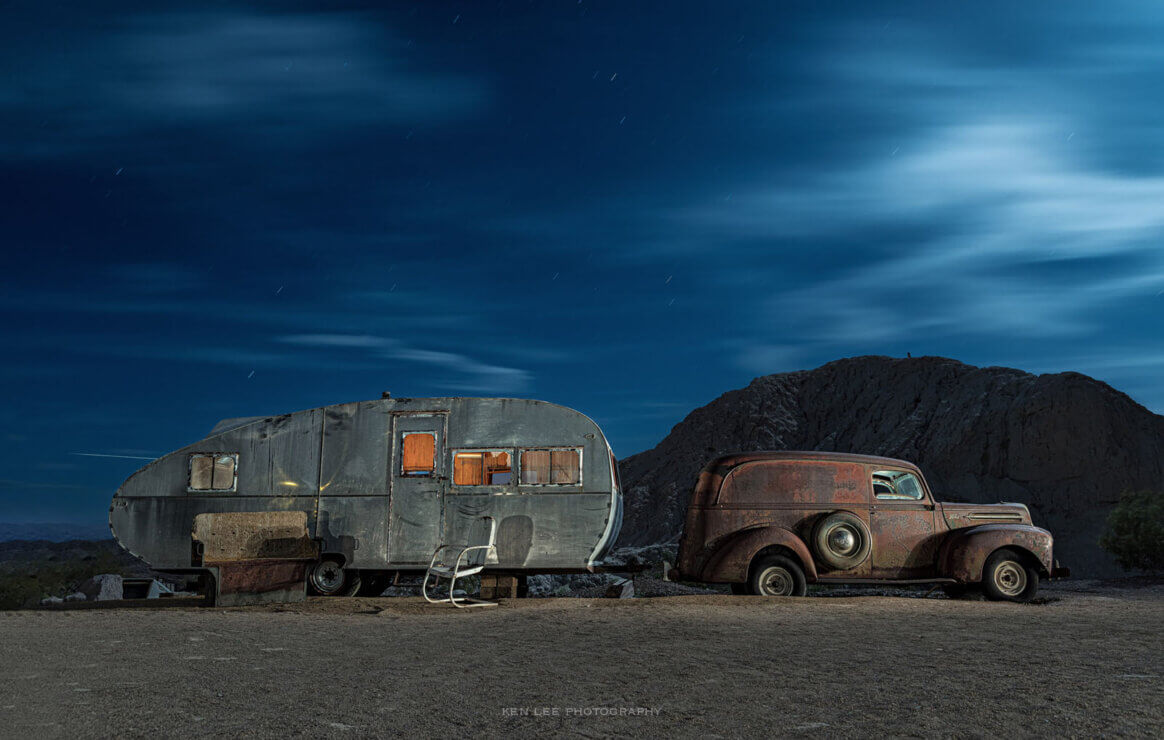
Light painting is a term that is often used loosely to describe any addition of light to a night photograph. Really, though, light painting is a technique that uses a handheld light source to illuminate a scene during a long exposure. You are quite literally painting light on a subject. Your light source is your brush. Night photographers have used this technique for many decades.

Inexpensive but high quality options for light painting
I wrote an in-depth article about purchasing light painting tools for cheap. I would encourage you to read this and see why I recommend what I do.

For white light only, I would recommend the Wurkkos FC-11 (review here). It holds detail well and has a pleasing warm white light.
What if I want color?
Use some gels from a $5 Roscolux Swatchbook sample booklet. Simply put these in front of your flashlight. Bam. Done.
Another option is the Colorshine light. I have never used this, but hear that it produces good results. Best of all, the light typically sells for under $33. It produces “10 different LED colors with flash and smooth color-change modes” which they describe as “red, green, blue, orange, turquoise, purple, yellow, cyan, violet, and white.”
Read about more inexpensive color options for light painting lights here.
RGB LED Panels for light painting

Another possibility is to use an LED panel instead of a flashlight, simply using it as a handheld light instead of a stationary light (which isn’t really light painting anyway). I use a Lume Cube RGB Panel Pro 2.0, which has a high-quality light and holds detail well. You can read an in-depth review of the Lume Cube RGB Panel here.
This is a high-quality light that you can use for handheld light painting. You may need to wrap black Cinefoil or something similar around it to prevent the panel from shining into the camera lens if you are walking through the scene.
Another possibility is a Luxli light panel. There are some that have accessories that surround the light, similar to what you are doing with Cinefoil, so it prevents you from inadvertently shining the light into the camera lens and causing giant streaks.
High-quality LED RGB flashlights for light painting

Currently, the highest-quality LED flashlight with RGB that I know of is the Ants on a Melon RGB Critter 2.0. It has a high-quality light and holds detail well. You can read an in-depth review of the RGB Critter 2.0 as it pertains specifically to light painting here.
The challenge of the RGB Critter is that the user interface is challenging. It involves either pressing buttons simultaneously or pressing a sequence of buttons to change colors, brightness, and functions. It produces 39 colors, all rich and vibrant. However, you have no control over the saturation. You cannot produce any other colors besides the 39 colors. Still, though, those 39 colors would be more than enough for most people. The challenge here is primarily the confusing user interface. This also includes through the colors to reach another color instead of going straight to it.
The highest quality LED RGB flashlight for light painting
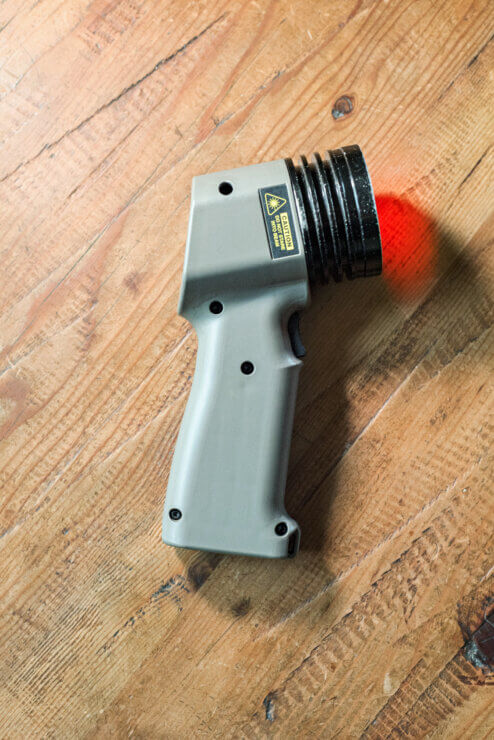
The light that I use, as well as the one all the Nightaxians use, is a ProtoMachines light. It’s meticulously designed for light painting scenes and subjects. The ProtoMachines light offers easily accessible, on-the-fly control over saturation and brightness from 1-100%, a timer, user presets, and more. The form function is perfect.
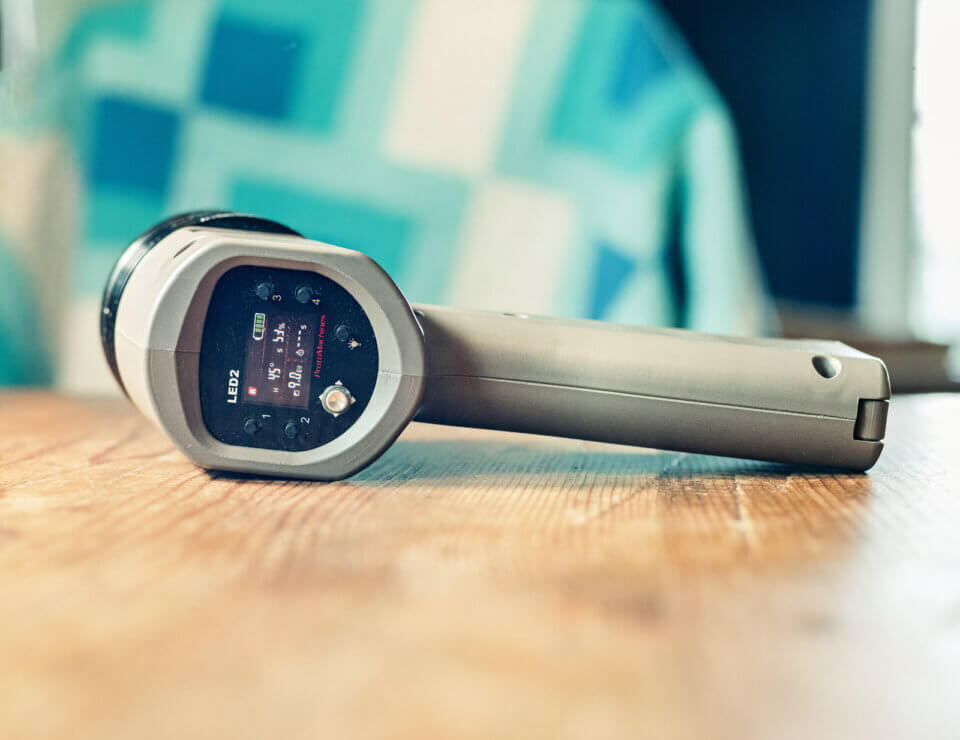
Before you get too excited, there are two issues.
One is that they are not cheap. Their products range in price from the Radium LED light wand at $249 to the LED8 at $559.
The other is that, as of this writing, they are currently not available.
They are worth every cent, in my opinion. The form factor, quality of light, and ease of use inspire creativity are second to none. They are, in short, the best.
They are so good that I would encourage you to ask to get on the ProtoMachines waiting list so you can be notified when they release new products. Many of us are hoping for this.
Light painting subjects – what do you use?
Do you have any light painting tools that you would recommend? Please leave them in the comments!
